


In my early, analog photography days, I spent many hours in the darkroom making silver-rich archival black and white prints and those vibrant Cibachrome prints. Based on this experience, the ultimate test of my photographic pursuits has always been seeing how the image translates to a "print". With this in mind, I've been anxious to see how my initial images from the K10D look when pixels are put to paper.
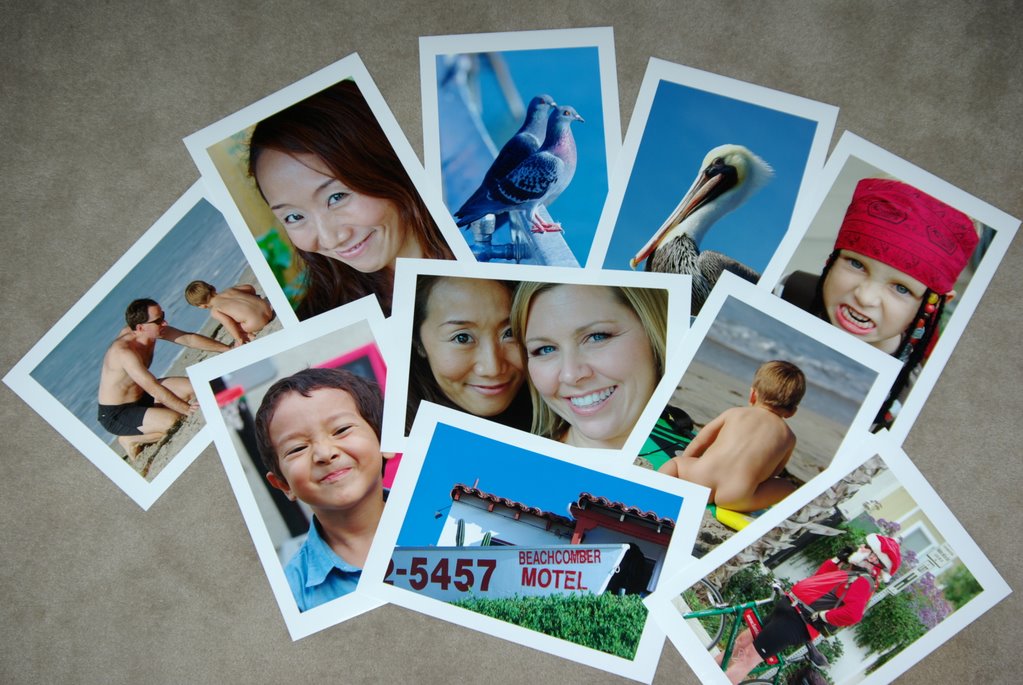
Last night I was able to print 14 images from my Thanksgiving photography session (images posted early) off the Epson Stylus Photo R2400 on Epson Premium Luster Paper. The photo in this post shows an array of these 13x19 prints. I converted my RAW K10D files into TIFF 8-bit files and printed the images from PhotoShop sized to 11"x16" so I could have a border around the prints.
I should also point out that I wanted to test how the K10D images printed without any user influenced tweaks, so I made no changes to the histogram, WB, color, saturation, sharpness. I used my standard print settings, which means color settings in PhotoShop were set to US PrePress Defaults, images were set to a resolution of 240, images were set to Adobe RGB, and I turned off color management in the Epson driver and let PhotoShop set the profile for my Epson Premium Luster paper.
So, my inital observation as a "photographer" and not a "blatant promoter" is the K10D can produce extremely nice prints with very accurate color, wonderful skin tones, details that have depth with nice edges and a snap that initially reminds me of my early cibachrome color prints.
Of course having said this, I think it's also important to note that similar to my experience shooting weddings with the EOS 1D and 1D-MKII, and this shouldn't come as a surprise...images have to be properly exposed! This also reminds me that intially many users of the 1D were not happy with the results they were getting from their first prints.
Turns out many of these photographers were over-processing and using "auto" controls in PhotoShop to adjust the image before they'd even tested what the default images looked like. FWIW, for any one moving up from a lower megapixel camera to the K10D, my advise would be to resist making significant changes to images until you've had a chance to see how your images print only using a workflow that sets the color space and profile for your paper. Using this process will allow you to to determine what the native image of the K10D prints like, thus giving you a baseline to experiment from thereafter.
Hope these initial observations are helpful, and if you take anything away from this post it's that your "print-making" skills are equally as important as your "picture-taking techniques.


